To install Job Board Designer, follow the following steps:
Download the plugin from the link in the purchase confirmation e-mail
From your website’s WordPress Dashboard:
Click on Plugins and then on Add New
Select Upload.
Browse and select the downloaded zipped plugin.
Hit “Install Now” and the plugin will be uploaded and installed.
Once installed, the plugin needs to be Activated.
Alternatively, for more advance users, the plugin can also be uploaded via FTP:
Establish a connection to your WordPress install using your FTP program (we recommend Filezilla)\
Upload the entire unzipped plugin folder into the “../wp-content/plugins/” folder on your server.
Go to Plugins » Installed Plugins and activate Job Board Designer.
Note: When activated, you’ll see a new menu item in your WordPress admin area entitled “Job Styles”. If this menu item is missing, please ensure the Redux Framework plugin is installed and activated.
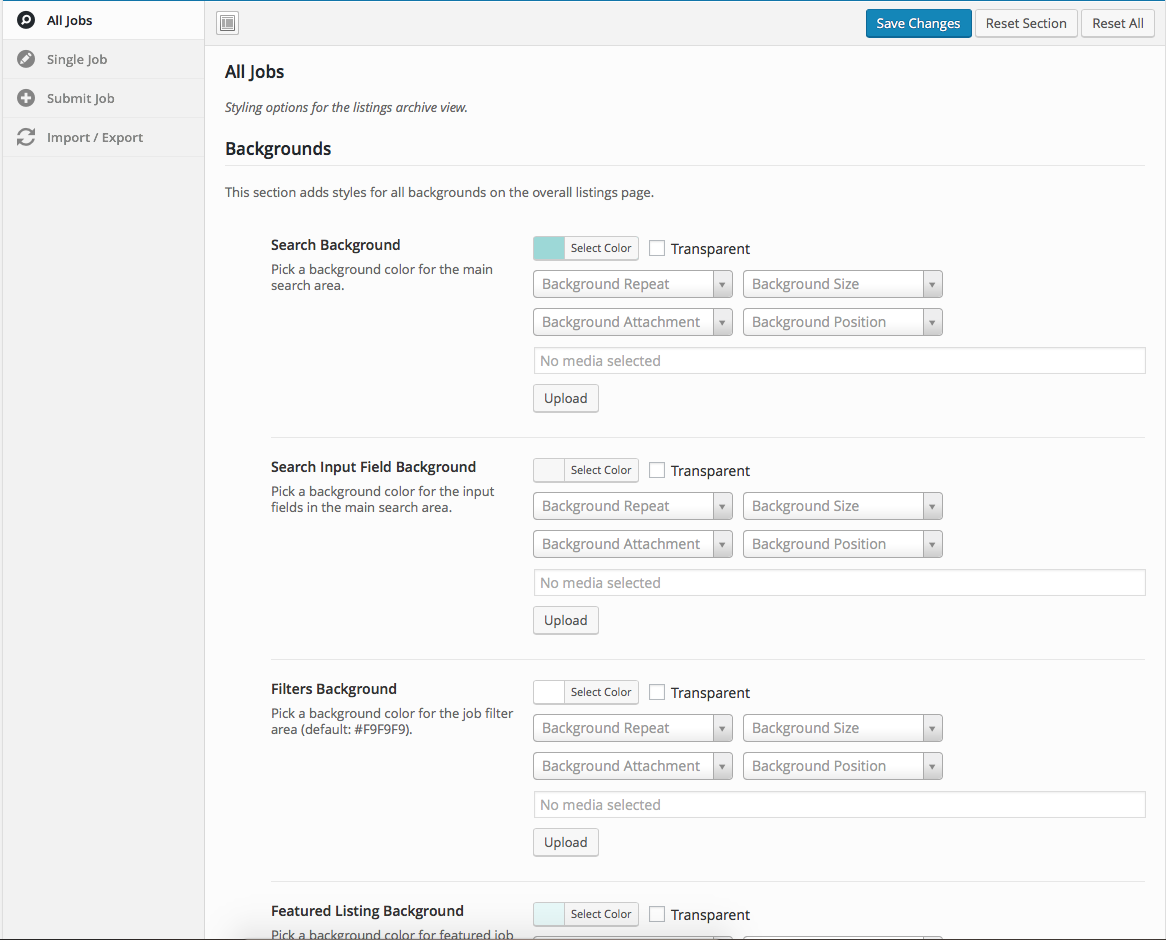
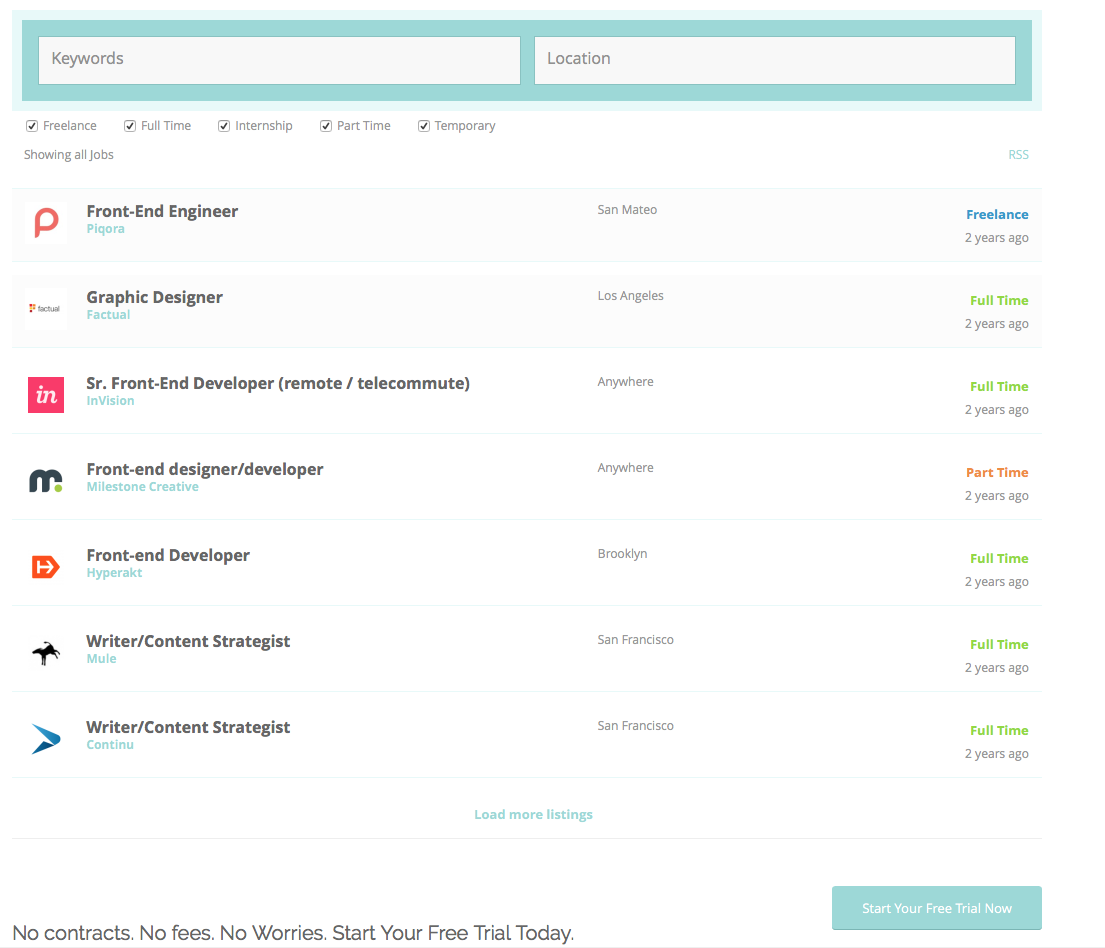
These settings deal with the overall view of your job listings page (typically where all the jobs are listed along with the Keyword / Location search form). Each section within the “All Jobs” panel deal with the various elements related to that page – these include:
Search Bar Settings
Enables customisation of:
The visibility of the “Search Now” button
The border width and colour
background colour
alternatively: use a custom image
The padding for the main search section
The width and height of the input field
The border and colour around the input field
The background of the input field
The font family, font colour, font type (bold/italic)
The text alignment and line height
The padding inside the input fields
Filter (Meta) Field Area
Enables customisation of:
The background for the meta section
alternatively: use a custom image
The border width and colour
The font family, font colour, font type (bold/italic)
The text alignment and line height
The padding between filter fields
Featured Listing
Enables customisation of:
The border width, style and colour
The background (separately from normal listings)
alternatively: use a custom image
The hover colour when mouse is over the listing
The font family, font colour, font type (bold/italic)
The text alignment and line height
The padding between each listings
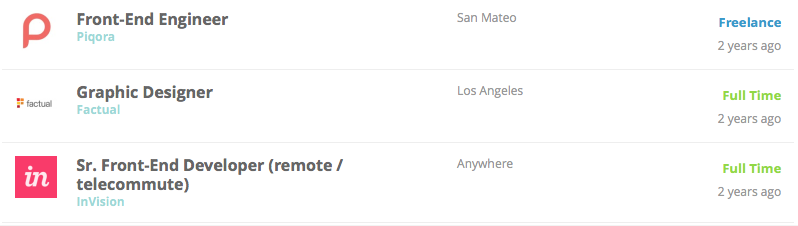
Normal Listing
Enables customisation of:
The visibility of the logo, company/tagline, location, job-type and post-date
The border width, style and colour
The background (separately from featured listings)
alternatively: use a custom image
The hover colour when mouse is over the listing
The font family, font colour, font type (bold/italic)
The text alignment and line height
The padding inside the input fields
The visibility of the “Load More” button at the end of job listings
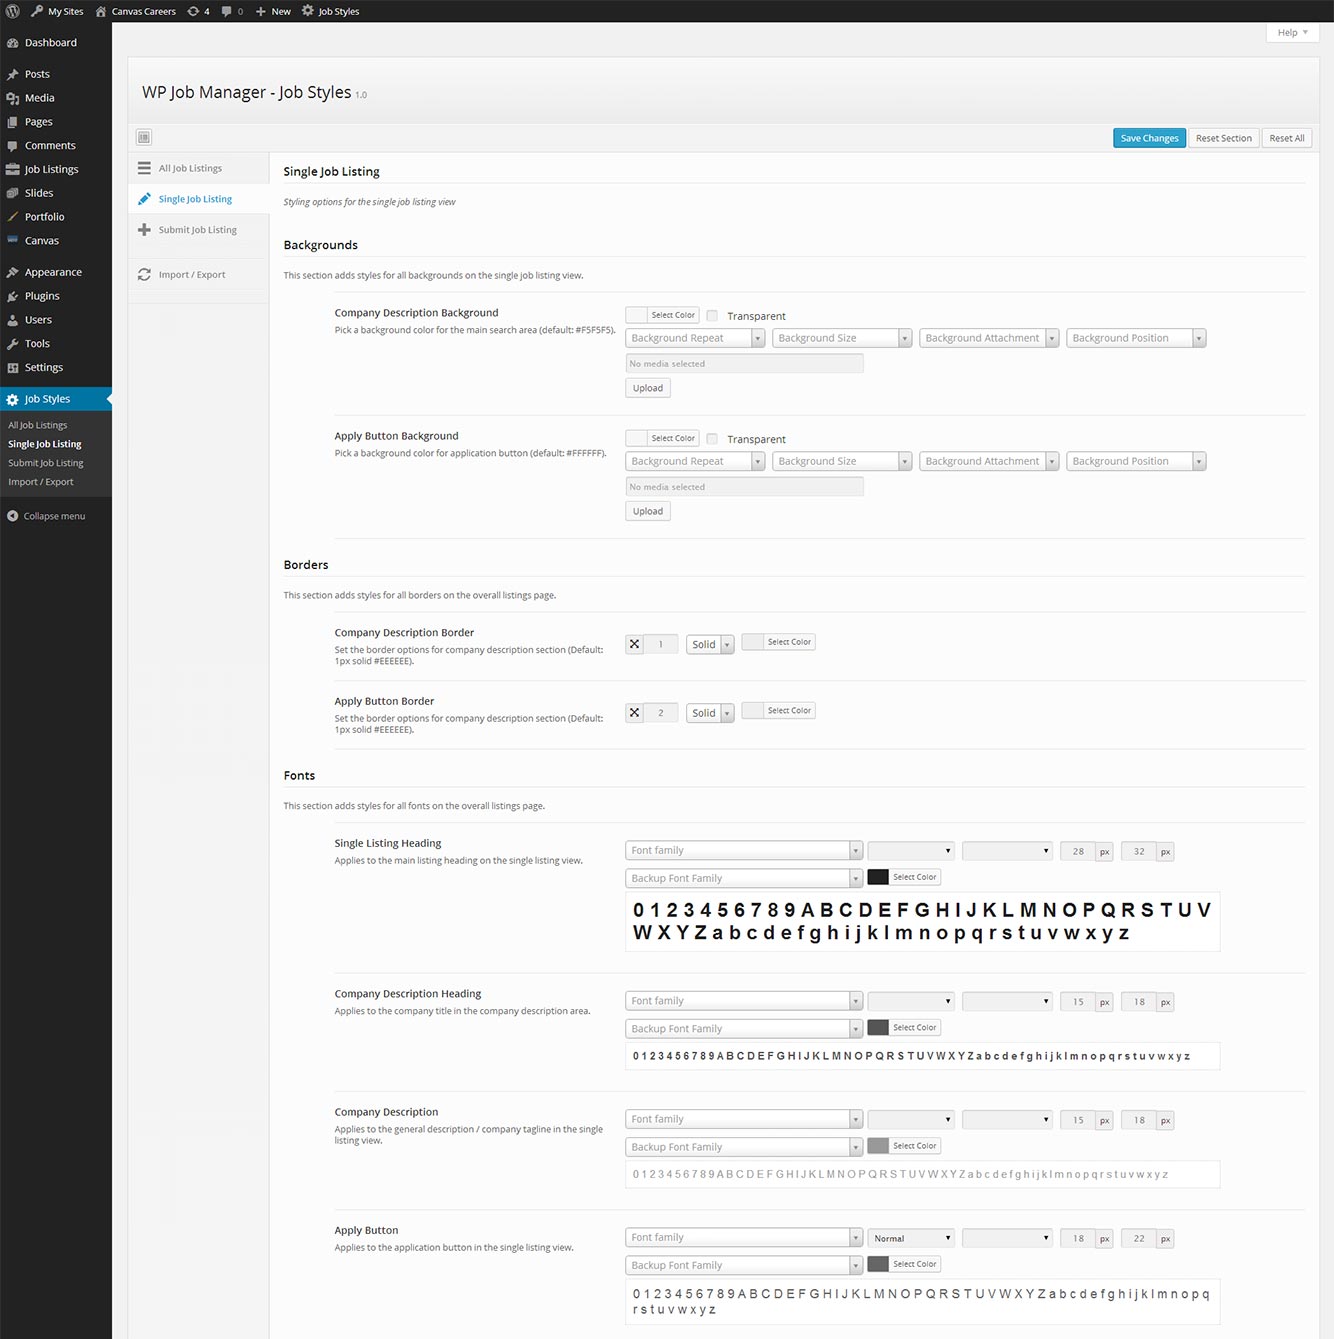
Single Job Design Settings
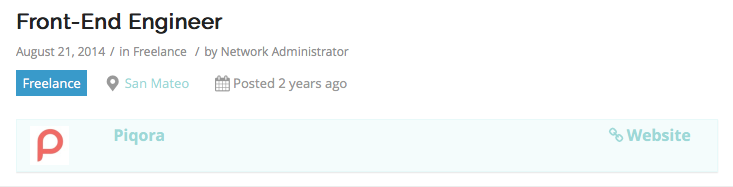
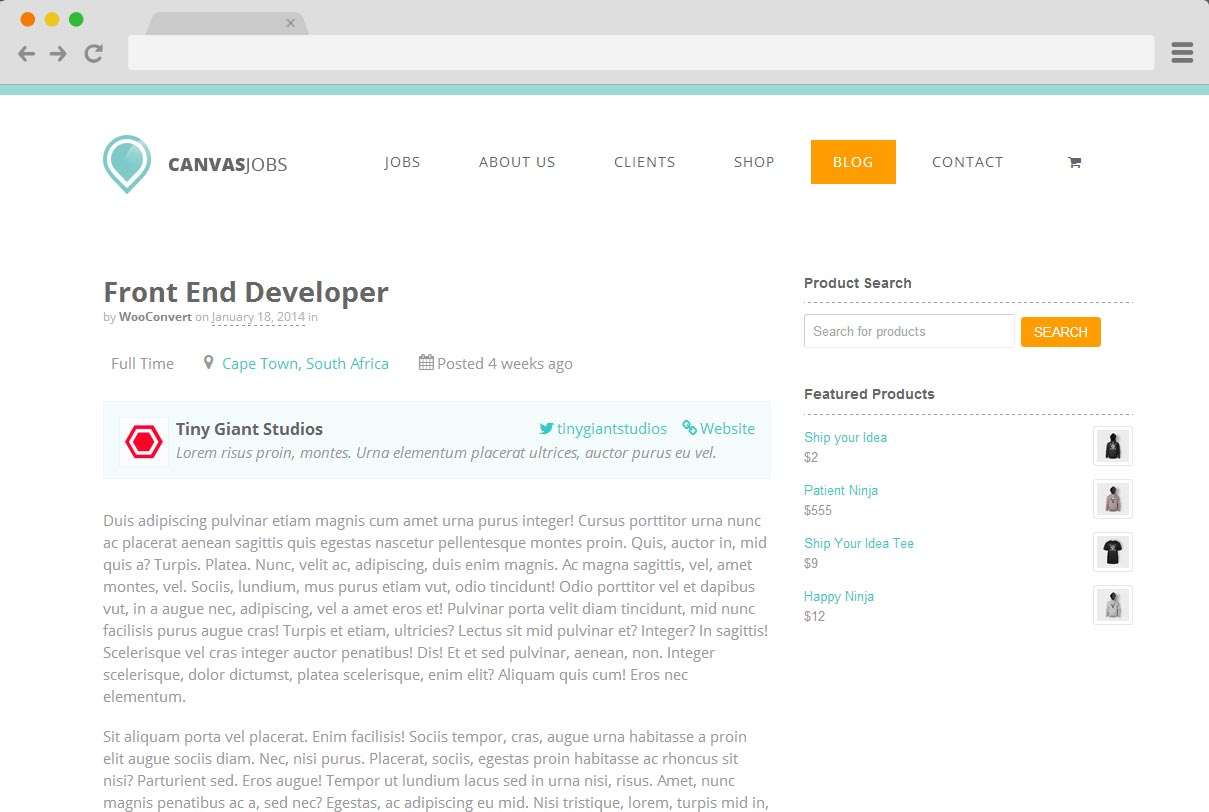
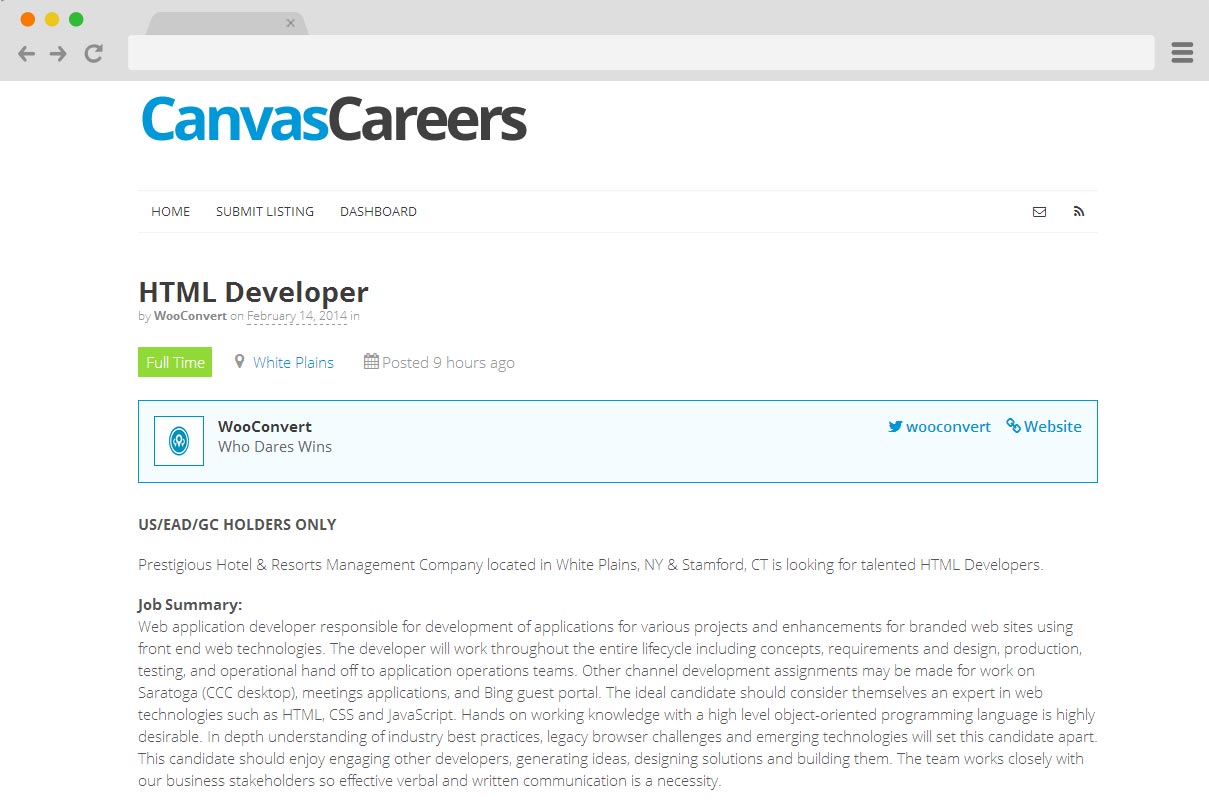
The Single Job page is the one used when viewing a job listing on its own page and usually contains the company logo, listing information, job description and an application method. Possible design settings for this page include:
Job Title and Company Details
The Single Job is perhaps one of the most important pages to style from a user’s experience point of view. If this page is crisp, clear, properly designed, the user would know exactly what job is for offer and would more likely be willing to apply. Job Board Designer can be used to customise:
The single listing heading
The font family, font colour, font type (bold/italic)
The text alignment and line height
The company description
The visibility of location, post date, company logo, company name/tagline, social media links
The background colour or a custom image
The border and colour around the company box
The font family, font colour, font type (bold/italic)
The text alignment and line height
Note: Job Board Designer does not alter the company logo
Padding around the company description
The visibility of the “Apply Now” button
Company Description
Enables customisation of:
The font family, font colour, font type (bold/italic)
The text alignment and line height
Apply for Job
Enables customisation of:
The border width, style and colour
The background colour or a custom image
The font family, font colour, font type (bold/italic)
The text alignment and line-height
Single Job View Options
Submit Job Design Settings
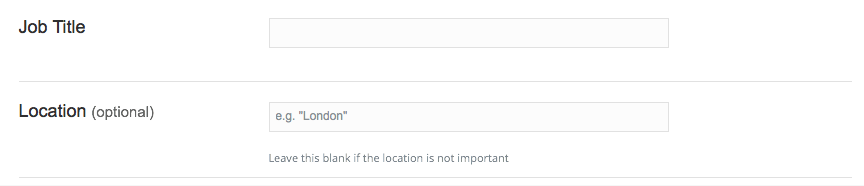
The Submit Job page is used when users submit jobs through the front end. The design settings for these are mostly based around providing styling options for field input section.
Form Input Fields
Labels (Job Title, Location)
The font family, font colour, font type (bold/italic)
The text alignment and line height
Padding used around labels
Bottom border beneath fields set (between Job Title and Location)
Input Fields (e.g. “London”)
The font family, font colour, font type (bold/italic)
The text alignment and line height
Padding around input text areas
Customise the width and height of job input fields
The border and colour and style around the input fields
Button Labels
Enables customisation of:
Background colour or image on button
Button colour or image when mouse hovers over
The font family, font colour, font type (bold/italic)
Note: This is optional. You do not need this for Job Board Designer to work.
You can install our demo settings which will ensure that your form uses the same colors and fonts as on our demo. To install the demo setting, please follow these steps:
With the Job Board Designer plugin activated, go to Job Styles in the main menu in the WordPress backend.
In the Job Styles options panel, go to Import / Export, located at the bottom.
Under the Import / Export option, click on the button that says Import From URL