To install this theme, you will need the following:
When you are ready to install a theme, you must first upload the theme files and then activate the theme itself. The theme files can be uploaded in two ways:
Once the theme is uploaded, you need to activate it. Go to Appearance » Themes and activate your chosen theme.
Note: Installing demo content is optional. Please activate all required plugins before starting the import process.
You can install our theme demo content using the XML Dummy Content file that is included with the theme download.
You can install our theme settings which will ensure that your website uses the same colors and fonts as our demo website.
Aside from WP Job Manager, there are technically no required plugins to use Jobhaus. However, if you plan on using it for more than just a basic job listings website, you’ll definitely need to look at the following list.
Remember: It is recommended that you install and activate the plugins you will be using before importing the dummy content. This will make sure all XML data is properly imported.
Please note, while this may seem like a lot, the amount of plugins has no impact on performance, and none of these plugins are required for the theme to function
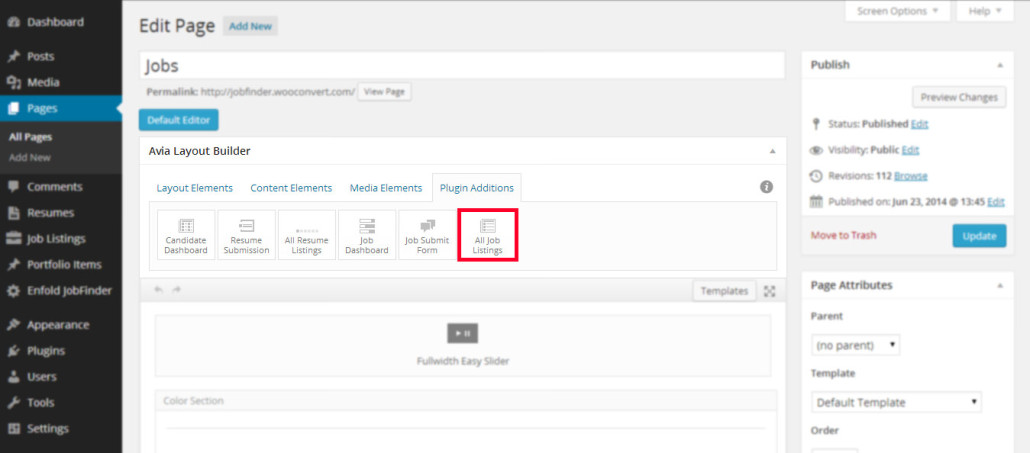
Perhaps the most important page of your site! To create a live-searchable/filterable list of jobs on your site, simply create a standard WordPress page like you normally would. Give it any title you desire, and drop the following into the post body:
[jobs]
Alternatively, if you’re using the advanced layout editor that comes packaged with Jobhaus, you can drag and drop WP Job Manager elements anywhere to build your customised layout. To find these elements, click on “Plugin Additions” to find the new elements.
To show Job Listings on your page, drag and drop the “All Job Listings” element onto you page and use the settings panel to configure:

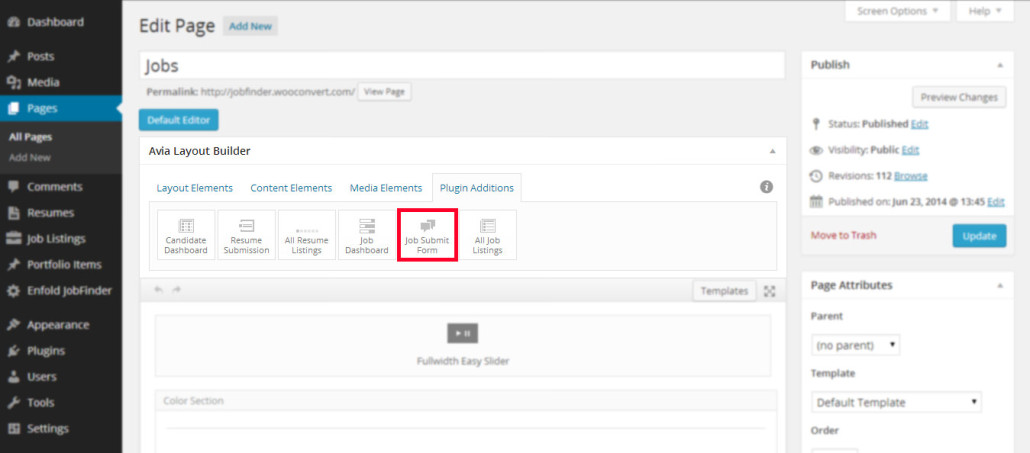
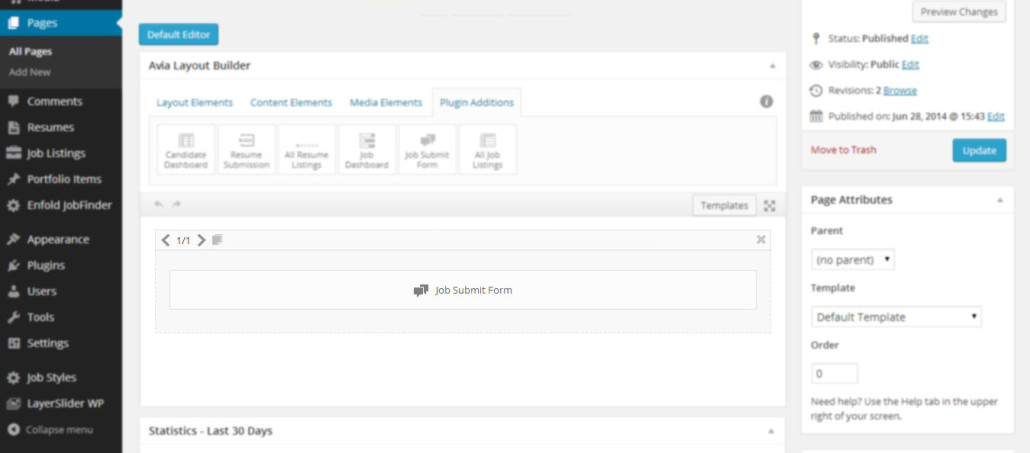
To create a front-end submission form that allows your visitors to submit a job, simply create a standard WordPress page like you normally would. Give it any title you desire, and drop the following into the post body:
[submit_job_form]
Alternatively, if you’re using the advanced layout editor that comes packaged with Jobhaus, you can drag and drop WP Job Manager elements anywhere to build your customised layout. To find these elements, click on “Plugin Additions” to find the new elements.
To show the Job Submission Form on your page, drag and drop the “Job Submit Form” element onto you page:
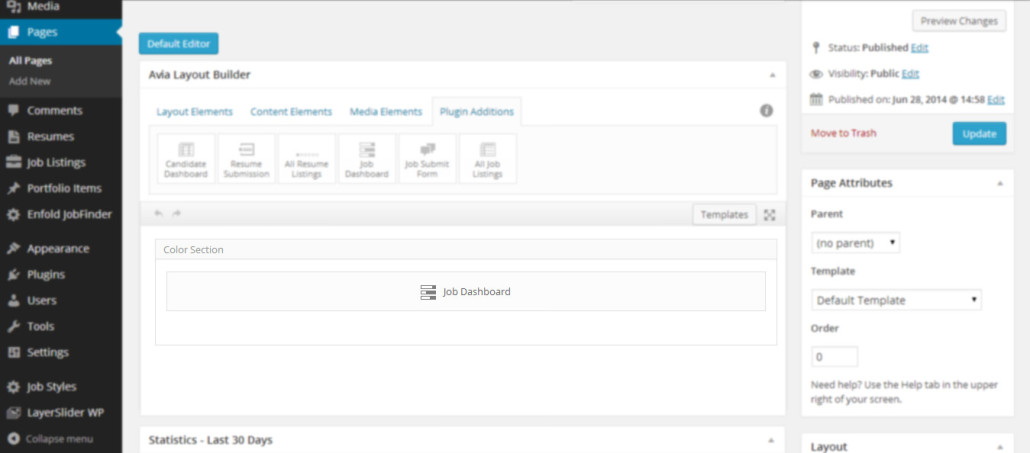
To allow registered and logged in users to manage their own listings, simply create a standard WordPress page. Give it a title such as “Job Dashboard” and add the following to the post body:
[job_dashboard]
This will output a list of all submissions by the logged in user. Here they can edit a job, mark it as filled, or delete it.
To show the Job Dashboard on your page using the advanced editor, drag and drop the “Job Dashboard” element onto you page: